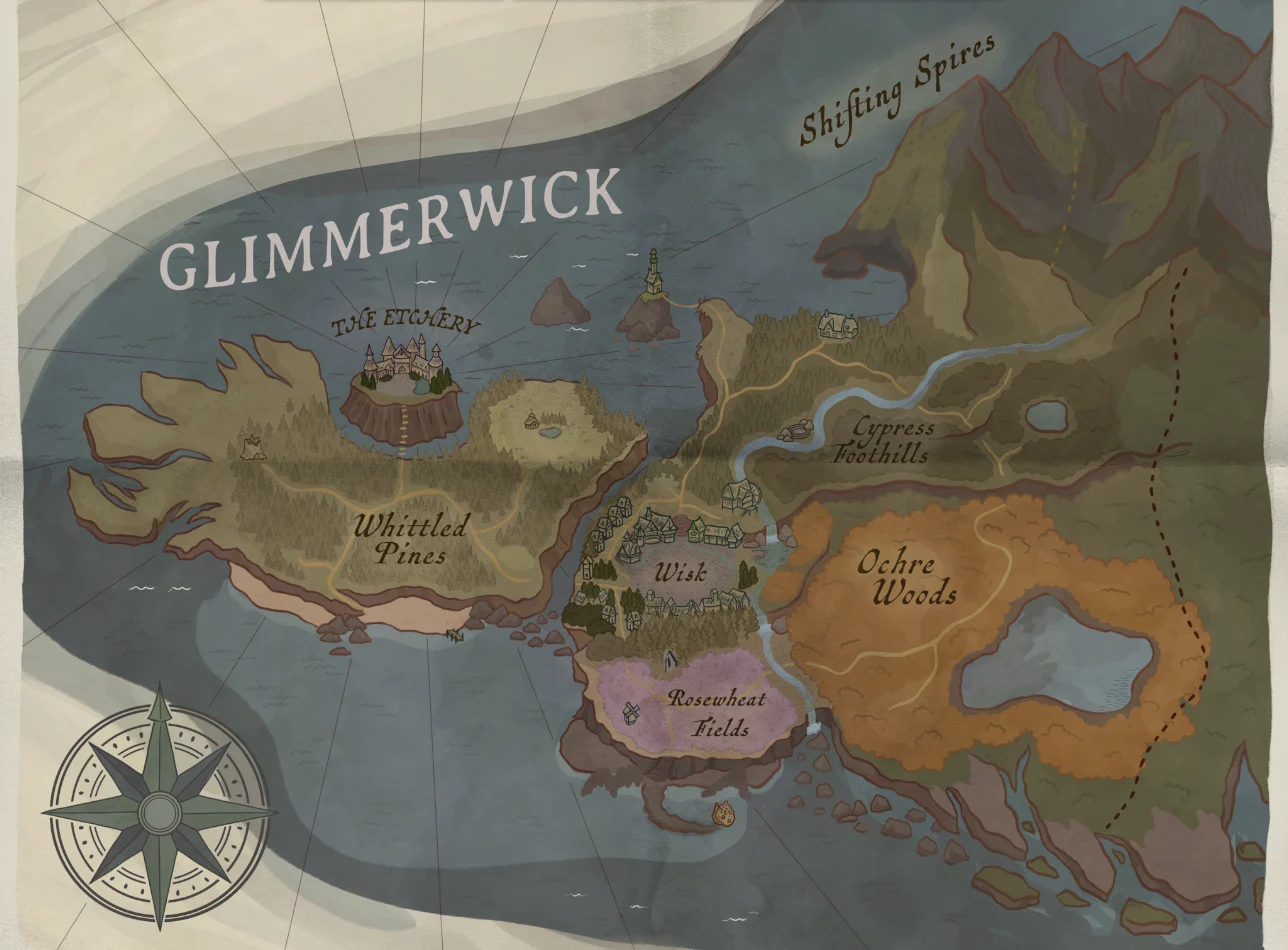
Bugs, diving, sand piles, shrines, fairy rings, mole tunnels, pets and griffin posts — on the map.
63 items to collect
Your progress here0 / 63
Tick the coloured tags as you pick things up. Progress is saved in this browser.
Away from the farm and the classrooms, Glimmerwick is full of things to find: bugs, treasure under the water, sea glass in the sand, shrines, fairy rings, mole tunnels and four creatures you can adopt. Every map on this page is the in-game world map with our own pins on top — click a numbered pin or tick its row in the table and both stay in sync. For mushrooms, herbs, shellfish and berries, see Foraging.
Bugs
Every bug is caught with the Bug Catcher: Kavita sells one for 55 Gold Petals all year, and the Beekeeper gives you one free during “The Beekeeper’s Bees”. Equip it and interact with the bug.
Spider webWild Honey BeeMountain BeeThree more wild Honey Bees live on Bellian Moor, which isn’t on this map.
Spiders live in the 17 webs on the map and are worth 15 each. Peony wants five for “Spiders for Peony” (see Villagers & quests). An empty web refills overnight once 3 days have passed since it last filled: leave a full web alone for several days and it refills the morning after you catch its spider, but catch one the moment it reappears and you wait the full 3 days.
Web
Where
Web 1
The path north of Wisk, below Marywild’s Manor.
Web 2
Cypress Foothills, across the river from Marywild’s Manor.
Web 3
Cypress Foothills, further east.
Web 4
Next to Bristlecone’s House.
Web 5
On the path from Bristlecone’s House towards your garden.
Web 6
The woods west of your garden.
Web 7
The woods south-west of your garden.
Web 8
The woods south of Bristlecone’s House.
Web 9
The woods above the Freshman Pier beach.
Web 10
The path south of your garden.
Web 11
North of Wisk.
Web 12
Ochre Woods, north of fairy ring 1.
Web 13
Ochre Woods, north of fairy ring 1.
Web 14
Ochre Woods, next to fairy ring 1.
Web 15
Ochre Woods, next to fairy ring 2.
Web 16
Ochre Woods, next to fairy ring 3.
Web 17
The far east of the Ochre Woods, past the lake.
Wild Honey Bees. There are nine on the map — five on Linden’s farm, three between Marywild’s Manor and the frog pond in the Cypress Foothills, and one in the woods above Freshman Pier — plus three on Bellian Moor. A wild bee comes back 14 days after you catch it. Bees also land on ripe Chamomile, Lavender, Marigold and Tulips in your garden (see Farming). A Beehive takes 4 Honey Bees and 10 Logs.
Mountain Bees. The six Mountain Bees in the Shifting Spires belong to the Beekeeper by the Gondola, whose spell left the Gondola overgrown. In “The Beekeeper’s Bees” you clear it with Insta Ungrow, ride up and catch all six; hand them over for 2 Honey Bees.
Toxic Spores float in Nocturne Forest: 14 in the first area and 7 deeper in. They’re caught and refill like spiders. Three Toxic Spores and a Lavender make a Spore Neutralizer to clear the toxic clouds. They vanish for good once the Harp of Six heals the forest, so you only need them before that.
Diving
Swim to a patch of bubbles and interact. Each dive gives one item, and the spot is gone until the next morning.
Where you can dive:
Lakes: Wisk Pool and the Ochre Woods lake, any time.
The sea keeps sending you back to shore until you have swimwear. Dee gives you the Wetsuit Outfit on the way to the Seaflower Festival (Spring 14). Just having it in your inventory is enough — you can keep wearing your usual outfit.
Every morning each spot has a chance to show up — about half of them in lakes, more at sea — and they drift a few steps from where they were. Expect around 30 a day across the island. The map shows where they can appear.
Dive spot (lake)Dive spot (sea)Dive spot (by the Shell)Sand pileSand piles 4 and 8 are on islands off the edge of this map, and 9 and 10 are on the Seaflower Festival grounds. Two more dive spots appear by Bird Island and four by the festival grounds.
Find
Sells for
Lake
Sea
By the Shell
Grizzled Seaweed
25
50%
9%
10%
Plaited Kelp
25
50%
9%
10%
Water of the Deep
110
—
23%
10%
Seastar
110
—
9%
10%
Bane of Bard
25
—
9%
25%
Mermaid’s Thread
25
—
9%
10%
Seaweed
25
—
9%
10%
Salt Pile
3
—
14%
15%
Seafloor Sand
55
—
9%
—
By the Shell means the seven spots around Mel and Lusina’s Shell. They’re the best place for Bane of Bard but never give Seafloor Sand. For money, dive in the open sea: Water of the Deep and Seastar are worth 110 each, and a dive averages about 52.
Two extra spots appear by Bird Island once Gwen mentions its birds in “The Briny Bathhouse”, and four more by the Seaflower Festival grounds.
Sand piles
Play Sandcastle Jingle next to a sand pile to build a sandcastle. The first castle at each pile gives you sea glass and 1 experience; after that it gives nothing, even if you knock it down and build it again.
Seven times in ten it’s Blue Sea Glass (worth 100), otherwise Green Sea Glass (120). No recipe uses them, so sell them: the 10 piles come to about 1,000 Gold Petals and 10 experience.
Pile
Where
Sand pile 1
West end of the Freshman Pier beach.
Sand pile 2
Freshman Pier beach, west of the pier.
Sand pile 3
Freshman Pier beach, west of the pier.
Sand pile 4
The island where Mel gets stranded in “Mel’s Journey”, off the west end of Freshman Pier. Go by boat.
Sand pile 5
West end of the beach by the Shell.
Sand pile 6
Next to the Shell.
Sand pile 7
Next to the Shell.
Sand pile 8
Bird Island, far to the south. It appears once Gwen mentions the birds during “The Briny Bathhouse”. Go by boat.
Sand pile 9
Seaflower Festival grounds — Spring 14 only.
Sand pile 10
Seaflower Festival grounds — Spring 14 only.
Shrines, fairy rings and mole tunnels
G
Ancient ShrineFairy ringMole tunnel — entranceMole tunnel — exitGiant MoleGilded ToadstoolWild Griffin / Woodland DragonShrine 3 is inside Nocturne Forest, which isn’t on the world map.
Ancient Shrines
The quest starts on Bellian Moor during the Summer 7 class trip. The Anthropologist at the shrine there teaches you Restoration Round and asks you to restore five more. At the first one, Gary the Silencer turns up wanting them destroyed: agree to help and Gary teaches you Desolation Dirge; refuse and you don’t learn it.
Shrine
The Anthropologist’s hint
Where it is
Shrine 1
“Along the cliffs.”
The woods south of Bristlecone’s House, above the west end of Freshman Pier.
Shrine 2
“By the lake deep in the Ochre Woods.”
Near the east end of the Ochre Woods lake, on the north shore, behind a giant dragon skull.
Shrine 3
“In Nocturne Forest.”
Inside Nocturne Forest, past the Shrubs and their picnic basket (see Cooking). Not on the world map.
Shrine 4
“In the mountains.”
Shifting Spires, a few steps north-east of the top Gondola station. Ride the Gondola up.
Shrine 5
“On a beach.”
West end of the beach by the Shell.
Play either song next to a shrine; both cost 140 mana (112 perfected). Restoration Round repairs it and gives 2 experience. Desolation Dirge destroys it and raises your maximum mana by 50 for good. You can mix and match, and once all five are done the result depends on how many you repaired:
The outcome:
Three or more repaired: go back to the Anthropologist on Bellian Moor for Whirlwind Aria, the harvest spell. Gary waits in the Etchery Courtyard.
Two or fewer repaired: the Anthropologist has nothing for you. Gary waits outside the Temple of Silence.
Gary’s story ends at the Temple of Silence, and you need Gary’s chalice to get in (see Songs & spells).
The Seventh Shrine. After the trial in the temple, talk to Gary again. Gary leaves the Silencers and hands you Moss and a Wretched Instrument. A statue moves aside and opens the way to the Seventh Shrine. Interacting with it unlocks the Seventh Shrine achievement at once, and then you choose: repair it (Gary burns the moss and the shrine is saved) or destroy it (you plant the moss on the shrine). Either way finishes “Ancient Shrines” and gives 5 experience.
Fairy rings
All four are in the Ochre Woods.
Ring
Where
Fairy ring 1
Codrin’s ring, east of the Ochre Woods griffin post.
Fairy ring 2
East of Kaloula’s outdoor class.
Fairy ring 3
South of the Ochre Woods griffin post.
Fairy ring 4
The north edge of the Ochre Woods, towards the Cypress Foothills.
Ring 1 appears when you finish “Ferry Girl”, with Codrin stuck inside, dancing. Your character refuses to step into an unsealed ring. Rescue Codrin and seal that ring with Song of Earth; the next day walk into your dorm room and rings 2–4 appear.
Seal all three with Song of Earth. Fairy Royalty appears at the last one, completing “Fairy Ring” and giving you the Vested Pack Owl Habitat schematic. Every sealed ring then grows Chanterelle, Porcino, Morel and Feathered Shroom all year (see Foraging).
Mole tunnels
The Potion of the Mole (2 Snap Tater, 1 Amber Dragon, 1 Ghost Shroom) turns you into a mole for a minute. Drink it by a molehill to travel through its tunnel; once you’ve used an entrance you can go back through without a potion. Learn the recipe from Secret Lives of Moles (Hyla, 350).
There are four one-way tunnels, lettered on the map: the brown pin is the way in and the blue pin with the same letter is the way out.
Tunnel
Entrance
Exit
Tunnel A
Next to Bristlecone’s House.
The woods to the south-west, by a Gilded Toadstool.
Tunnel B
By the river, south-east of Wisk.
Inside the Ochre Woods near Kaloula’s class, by a Gilded Toadstool.
Tunnel C
East of the frog pond in the Cypress Foothills.
Further east, near the wild Griffin.
Tunnel D
The far east of the Ochre Woods.
Further east, next to the wild Woodland Dragon.
Worms for Moles. Molehill G, next to the garden griffin post, leads to the Giant Mole, who wants to make up with an old friend and hands you Apology Worms:
Go through three of the four tunnels above.
The little mole appears at the exit of the third one you use. Hand over the worms for Apology Worms.
Go back to the Giant Mole to finish “Worms for Moles” and reveal Mole Strength (+10 inventory slots) on the Ability tree.
Hyla’s molehill in Wisk is only used in Clover’s “Mole Adventures” (see Villagers & quests).
Pets
You can adopt four creatures. Each needs its habitat on your farm and a Gilded Toadstool: equip the toadstool and interact with the wild creature. It moves in the next morning — or, if the habitat isn’t built yet, as soon as it is (see Crafting).
The far east of the Ochre Woods, by the exit of tunnel D.
Grows mushrooms around its habitat.
Vested Pack Owl
Nocturne Forest.
Follows you carrying a 24-slot chest. Ask it to stay put, or call it back at its habitat.
Adopting all four unlocks Animal Lover.
Feeding the dragon. Equip a mushroom and interact with the dragon to teach it that kind: Chanterelle, Death Cap, Feathered Shroom, Ghost Shroom, Inky Cap, Morel, Pixie Cup, Porcino or Sunset Amanita. From the next morning, seven spots near its habitat grow the kinds it knows; each is ready every 2 days and starts again when you pick it. The dragon picks at random among the kinds it knows, so teaching it only Pixie Cup (35 each) earns the most, while several kinds keep you stocked with ingredients.
There are exactly four Gilded Toadstools, one per pet, and they can’t be sold:
Toadstool
Where
Gilded Toadstool A
Next to the exit of tunnel A.
Gilded Toadstool B
Next to the exit of tunnel B.
Florian’s Toadstool
Florian’s reward for 10 fish species (see Fishing).
Once a Griffin lives on your farm, ring the bell at any of the 11 posts — or pet the griffin — to open the travel map. Each destination only appears after you’ve walked past its post, so visit them early. Without a griffin the bells do nothing.
Griffin post
Post
Number on the map
Bristlecone’s House
1
Etchery Courtyard
2
Garden
3
Freshman Pier
4
Wisk
5
Rosewheat Fields
6
Mel and Lusina’s Shell
7
Marywild’s Manor
8
Ochre Woods
9
Gondola
10
Temple of Silence
11
Other finds
Odds and ends:
Crow gifts: with Friend of Crows, the crows leave a random item by your shed every morning. It can be almost anything except clothes, books, tools, instruments, habitats and some quest items.
Azara’s hat: in “Lighthouse Keeper” you learn Hymn of Sea’s Abyss and raise a temple south of the Shell. Go inside and pick up Azara’s hat for Gross Garment — it unlocks the moment the hat lands in your inventory.
Books have their own tab and take no inventory space. The guard at the Wisk guardhouse gives you Maps (town, island and Etchery) the first time you talk. Hyla sells Secret Lives of Moles (350), which teaches the Potion of the Mole, and Cozy Cooking Basics (40). Every other book comes from quests, and there’s no counter for books read.